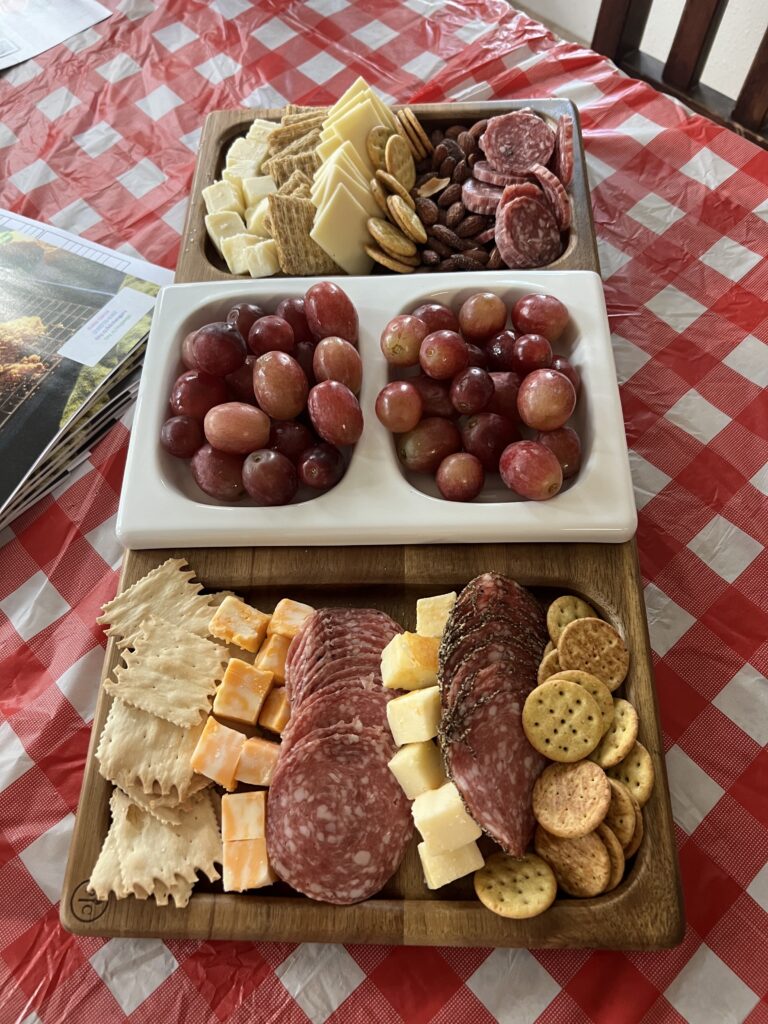
Snack Boards 101: Your Beginner’s Guide to Charcuterie Magic

Let’s be honest: when someone brings out a charcuterie board, it’s a total showstopper. And while it might look like it took hours of gourmet wizardry, I promise—it’s mostly just smart shopping and a little flair for the dramatic (yes, I said it).
Whether you’re hosting a party, planning a picnic, or just feelin’ fancy on a Tuesday night, a well-built board turns snack time into an experience. Here’s your guide to the fab four of charcuterie board types—and a step-by-step on how to assemble a basic beauty.
🧀 The 4 Fabulous Types of Charcuterie Boards
- The Classic Charcuterie
- A savory spread with cured meats (like salami and prosciutto), cheeses (hello, brie and cheddar), nuts, olives, pickles, fruit, and crackers.
- Best for: Wine nights, book clubs, or impressing your in-laws.
- The Sweet Board
- Think chocolate bark, cookies, fresh fruit, caramel dip, mini pastries.
- Best for: Dessert lovers, brunch tables, or celebrating life’s little wins (like surviving Monday).
- The Brunch Board
- Bagels, mini pancakes, hard-boiled eggs, smoked salmon, fruit, jams, cream cheese.
- Best for: Hosting brunch without breaking a sweat.
- The Themed Board
- Taco board. S’mores board. Mediterranean mezze. You name it, you board it.
- Best for: Parties with personality or nights when you just want to mix things up.
🛠️ How to Build a Basic Charcuterie Board (in 5 Easy Steps)
Step 1: Pick Your Foundation
Choose a platter, wooden board, or even a big cutting board. Size matters—but don’t overthink it. Start small if you’re new.
Step 2: Anchor with Cheese + Meat
Aim for 2-3 cheeses (soft, hard, and something funky if you’re feeling bold). Add 2-3 meats—folded, rolled, or artfully plopped down.
Step 3: Add Crunch + Sweet
Layer in crackers, toasted baguette slices, nuts, dried fruit, or apple slices. Pro tip: something salty + something sweet = balance.
Step 4: Bring the Color
Add olives, pickles, grapes, cherry tomatoes, or even edible flowers. Color = visual wow factor.
Step 5: Fill in the Gaps
Don’t leave blank space—add little piles of nuts, fresh herbs, or cute little bowls with honey, mustard, or jam.
Final Tip: Keep It Fun, Not Fussy
Your board doesn’t need to be perfect. It just needs to be yours. Trust your taste buds, use what you have, and remember—it’s hard to mess up cheese and snacks.
Now go forth and assemble! 🧀🍇🥓

Leave a Reply